Mount Adams: C2C South Climb to Summit in One Day
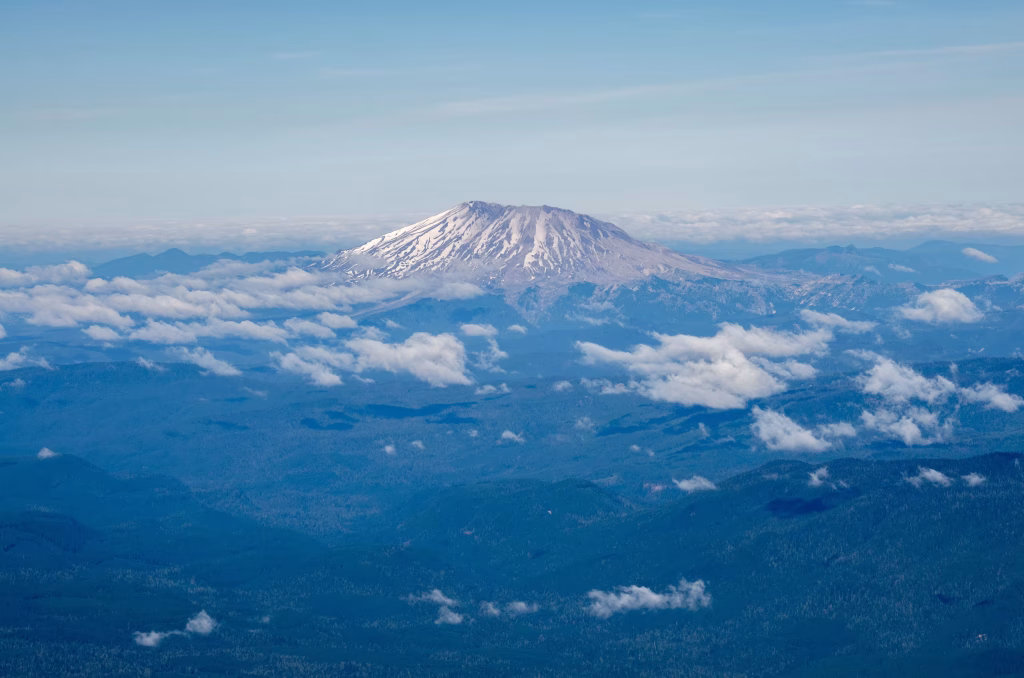
Mount Adams is a volcano in southern Washington state, located within the Cascade mountain range. At a height of 12,276 feet (3,742 m), it is the second highest mountain in the state, behind the iconic Mount Rainier. However, Mount Adams is actually the largest mountain in the state as it boasts an 18 mile wide diameter at its base.
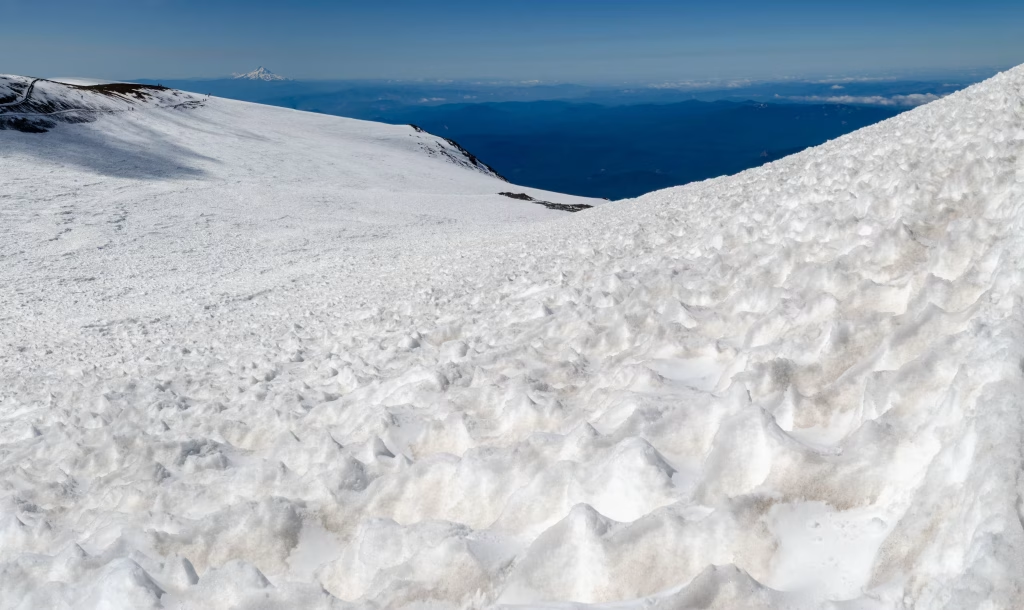
On a clear day from the summit, you can view Mount Rainier to the north, Mount St Helens to the west, and the Oregon mountains to the south (Mount Hood, Mount Jefferson, and the Three Sisters).

We did this on July 5, 2025 as a “C2C”. C2C refers to a “car-to-car” ascent and descent, meaning a summit attempt in one push without sleeping/camping on the mountain. Many climbers will tackle Mount Adams in two days and camp at Lunch Counter, but we chose the C2C option to allow for more flexibility for when we chose to go (i.e. waiting for the ideal weather window) and we wanted to carry less gear on the mountain (lighter packload).
Keep on reading for all the details on how to plan your adventure!
Permits
- Between May 1 and Sept 30, anyone climbing above 7k feet needs a climbing permit. This is $20/person/pass and can be purchased online in advance
- You must print two copies of your permit: one to be carried on your person, one left in the car at the trailhead
- To park at the trailhead: either the Northwest Forest Pass or the America the Beautiful Pass
The Trail
Mount Adams has 12 glaciers, though its south side is largely glacier free. This route is called the South Climb (or South Spur) and it is not technical*, and therefore very popular and a great starting point for beginner mountaineers. The trail climbs the south side of Mount Adams along the Suksdorf Ridge, passing by the small Crescent Glacier, which feeds into Morrison Creek.
* A route is considered “technical” if you need special equipment and skills for climbing beyond typical hiking gear due to steep slopes & icy terrain, i.e. there is crevasse danger and you need rope, harnesses, helmets, additional protection
It is 12 miles round trip and approximately 6800 feet of elevation gain.

Planning & Prep
- To best prepare for this, you should be an experienced hiker and of excellent physical fitness to withstand long days in the mountain, be comfortable with snow travel, and know how to use your gear. Even though this is not a technical climb, weather conditions can change rapidly in the mountains and you need to be prepared. The following are resources to help you learn as much as possible and prepare:
- How to use crampons
- Snow travel techniques
- Ice axe information:
- Ice axe 101: choosing the right length, how to use
- How to self-arrest when glissading
- Walking with an ice axe
- How to attach ice axe to your pack
- TRAINING: An excellent training hike for this is Mount St Helens, check out our adventure guide for planning that trip here
- MAPS & NAVIGATION: We downloaded the AllTrails route and followed this live during the hike on the app itself. This was very helpful to navigate for the first few hours of hiking when it was still dark.
- For back-up: we also downloaded offline Google maps of the area to our phones, and had printed copies of paper maps using the CalTopo website.
- WEATHER: For ideal weather, you will want to go when it is clear and with winds less than 30-40 mph. This is the best mountain forecast to use with the ability to check the weather conditions at various elevations (at 6,562’, 9843’, and the summit of 12.2k’)
- WHEN SHOULD I GO?
- We picked out two alternate weekends for this trek: the first in mid-June, and the second option was early-July (which was what we ended up doing). Most will choose to go in this time window of early June through mid July as this is usually when the road to the trailhead has melted out (so you don’t have to hike more miles in the snow), but there is still ample snow on the actual mountain to enjoy the glissade down.
- Earlier in the season, you will add more hiking miles to hike to the trailhead itself if the road isn’t open, but it will definitely be less crowded.
- Later in the season, the mountain may be rockier and therefore less ideal for skiing, splitboarding and glissading (i.e. less fun). However you may be able to see the historic lookout at the summit, as it is usually buried in snow earlier in the season!
- WHAT SHOULD I PACK?
- Ten Essentials as you would for any normal day hike (always be prepared if you need to unexpectedly stay the night!)
- Crampons AND microspikes
- Mountaineering boots that are compatible with your crampons
- Ice axe
- Hiking poles with snow baskets
- 3-4 L of water
- Lots of food & fuel (highly recommend drink mixes with extra carbs and electrolytes, like Tailwind)
- Sunscreen, lip balm with SPF, sunglasses
- First aid kit with Ibuprofen for altitude sickness and hand sanitizer
- Headlamp
- Portable power pack with charging cables for headlamp & phone
- Cold weather gear: waterproof gloves, hat, buff, gaiters, waterproof pants, outer shell. Lots of layers!
- Your climbing permit and photo ID
- Lux items: seat cushion, garbage bag for glissading down, camera
- GEAR RENTAL (in the Seattle area):
- REI in Seattle has a-la-carte rental items and also mountaineering packages which include boots, crampons and an ice axe. We used this and the process was seamless. Note that this service is for REI members only. Note that for crampon rentals, you must bring your boots to make sure they are compatible with the crampons they give you
- Feathered Friends in the South Lake Union neighborhood of Seattle has crampons & ice axes to rent, must call to make a reservation
- Ascent Outdoors in the Ballard, Seattle neighborhood has boots, crampons, ice axes and helmets for rent
Other questions? For any remaining questions or the best beta for trail, trailhead and road conditions, call up the friendly rangers at the ranger station!
Getting There & Sleeping
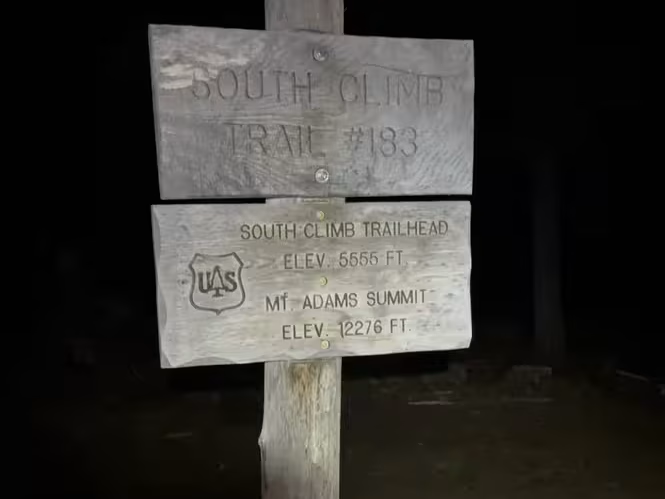
- Park at the South Climb Trailhead
- This is about a 2 hour drive from Portland, or a 5 hour drive from Seattle
- The road to the trailhead is narrow and a bit rough the last few miles, but doable for even a sedan with ample clearance provided the road is clear and the snow has melted
- When the road to the trailhead (NF-500) melts out varies by year, but once this happens, this signals the start of the ideal window to attempt this climb. For example, this happened in mid to late May 2024, but in early June 2025.
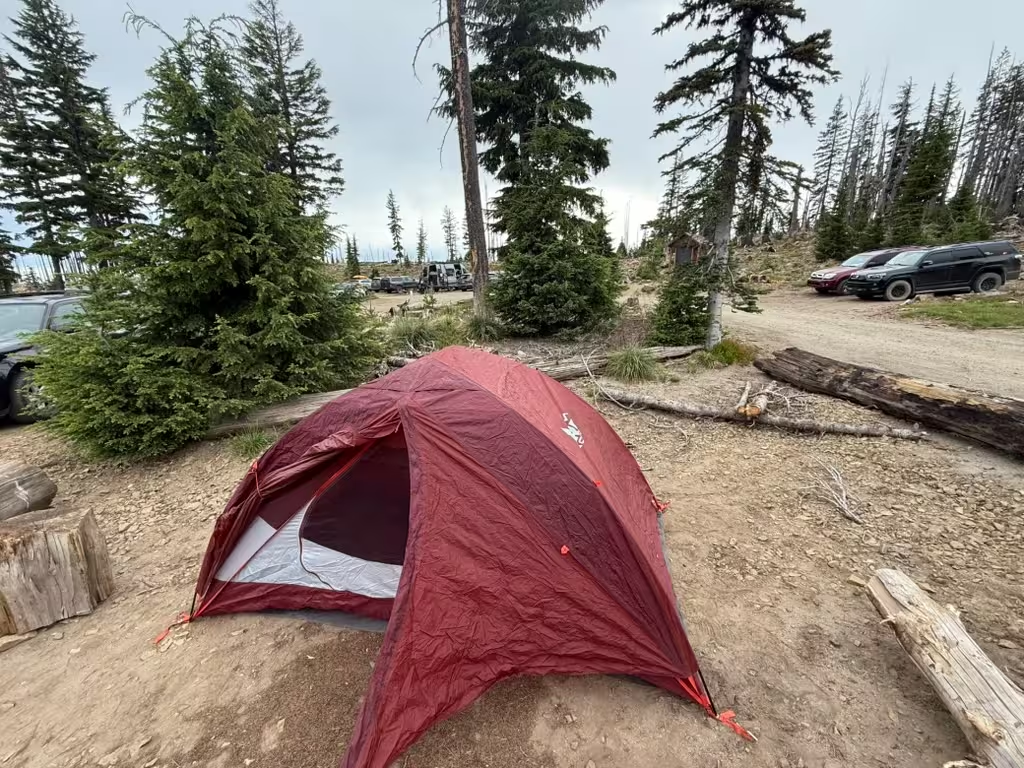
- Cold Springs Campground is also located at this trailhead for dispersed car camping. There are two pit toilets here but no other amenities. There are probably about 10 tent sites, a few of them quite large that could probably hold 3 tents with campfire rings. These tent sites are scattered throughout the parking spaces and around the perimeter of the parking areas.
- If the parking and tent sites are full, there is also an option to park/sleep at Morrison Creek Campground, a free dispersed camping site that is 2.7 miles (15 min drive) before Cold Springs Campground/the South Climb Trailhead
- Note: the closest town is Trout Lake, which is about 40 minutes from the trailhead. It’s a cute small town with a general store and only a few amenities
The Experience
Friday PM
- 5:30 PM: We arrived at Cold Springs Campground by dinner time. There were still at least 4 tent sites available and parking for several handfuls of cars.
Saturday
- 2:00 AM: Boots on the trail (TH 5,570’)
- Yesterday was the Fourth of July, and it appears the best way to avoid the loud fireworks is to sleep on or near a mountain. Around 1am, you will instead by woken by various cell phone alarms going off from around the campground for other climbing groups getting ready for their alpine start. Several deer were meandering around the campground and near the trailhead at this hour, nature’s witness to the journey that we were about to begin.
- 3:00 AM: Timberline Campground (6,267’)
- It is a steady and gradual, gentle grade until this point. About 2 miles in, we begin to encounter patchy snow around these established campsites. No need for traction (i.e. microspikes) though. After leaving the campsites, the route begins to steepen.
- 5:00 AM: Sunrise
- We are getting close to Lunch Counter at this point and could see the pink colors highlight Mount Hood to our backs, slowly moving to the west to engulf Mount St. Helens in color soon.
- The most surreal phenomenon was when we could see the shadow of Mount Adams as we were climbing it. This mountain shadow – the perfect interplay of optics and light was such a unique and awe-inspiring marvel to witness – a trip highlight for sure.
- Soon afterwards we put on our crampons and locked in for the true climbing to begin – everything within sight now was an upward slope.


- 7:00 AM: Lunch Counter (9,281’)
- From the trailhead to this point, it is approximately 3.5 miles and 3.6k elevation gain, with most of this elevation gain over the past 1.5 miles.
- After leaving LC, there is a short flat, rocky area where we (and many others) swapped trekking poles for our ice axes
- This stretch from LC to Piker’s Peak is known for being the most difficult section because it is so steep, and now altitude sickness can start to play a role.
- Altitude sickness can occur at any point after 8,000′, is most likely to occur after 10,000′ elevation, and the risk of it happening increases if you had not had time to acclimate by camping/sleeping on the mountain at higher elevations. Symptoms include headache, nausea, dizziness and shortness of breath.
- Alas, once I reached about 10,500’ I started feeling mild altitude sickness and had to take very frequent breaks, resulting in a much slower-than-expected pace. Keep this in mind as you plan your adventure – if you are fortunate enough to not suffer from the effects of altitude, you will likely tackle this ascent much faster than we did.


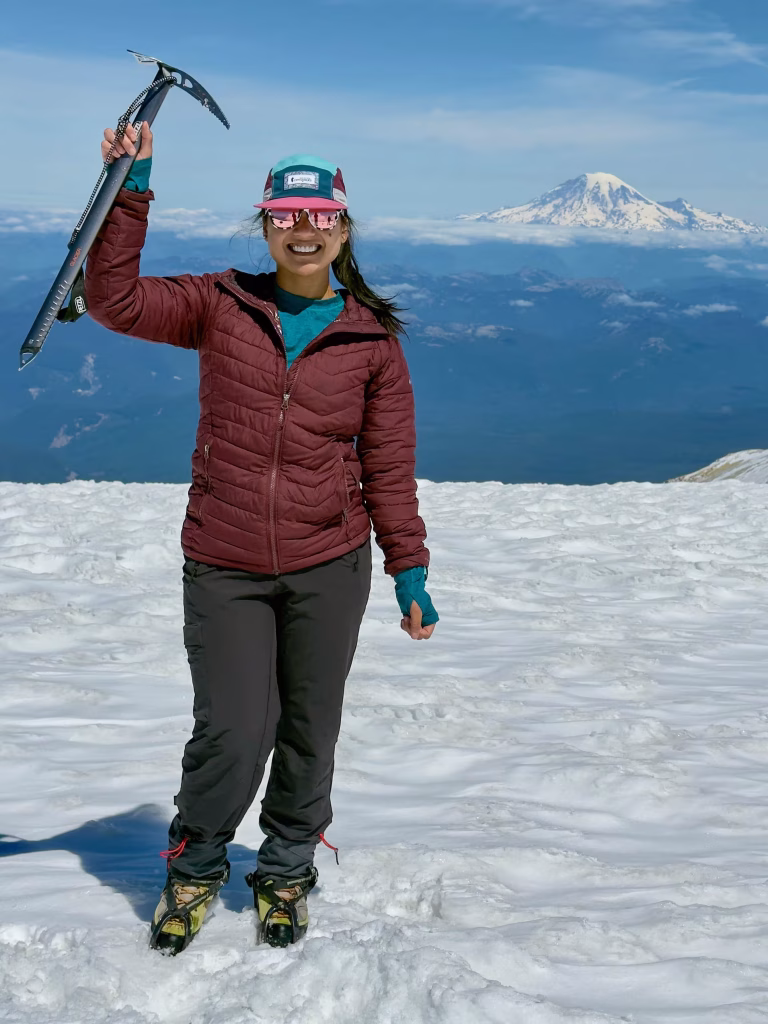
- 9:00 AM: Piker’s Peak / False Summit (11,555’)
- Long rest and refuel break here, lots of photo ops of the surrounding peaks from this vantage point:


- 10:00 AM: Begin final push to summit
- Shortly after leaving Piker’s Peak, there is a flat, slightly downhill stretch of sulfur fields. Beware of this odor exacerbating any altitude related nausea or dizziness.
- Then, after traversing through some intriguing ice formations, the climbing begins again. This section is not as steep as the previous stretch to the false summit, but can prove to be even more difficult simply because of the higher elevation. The air is much thinner at 12,000 feet above sea level! Take your time here.


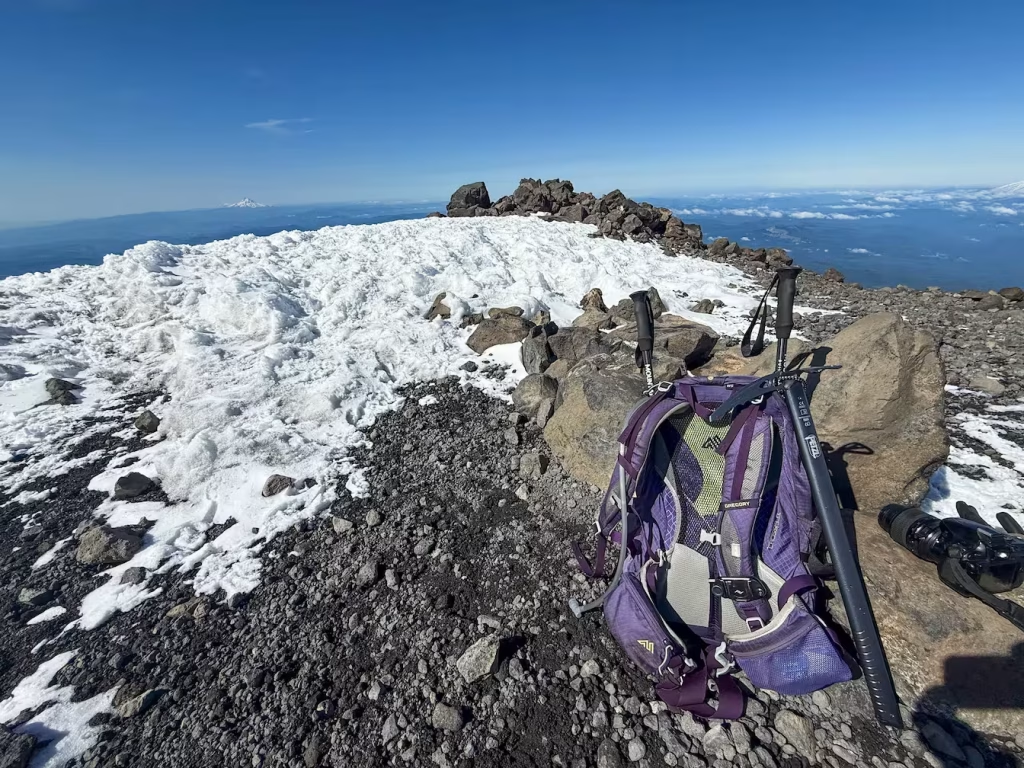
- 11:00 AM: Summit!!! (12,276’)
- What an accomplishment!
- At the summit, we finally had a view of Mount Rainier to the north, and of course we could still see Mount St Helens to the west, and many Oregon peaks to the south.
- There are also the remnants of an old historic fire lookout that was originally built in 1918. Most of the year it’s covered in snow and ice, but you can still see the top of it!
- We rested, refueled, captured photos and videos, and relished in our achievement.


- 12:00 PM: Begin descent
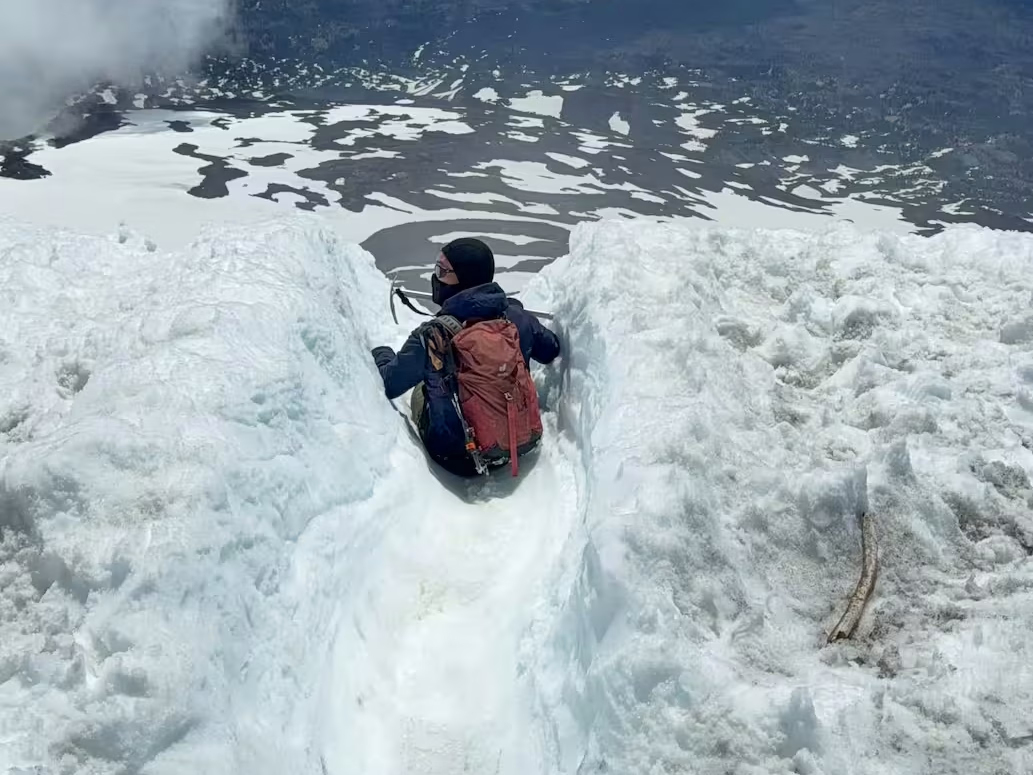
- The stretch between the summit and Piker’s Peak didn’t have many glissade chutes, but we were able to practice self-arresting on little bunny chutes/hills safely.
- This stretch between Piker’s Peak and Lunch Counter is where it is glissade heaven!! You truly feel as if you are sliding down a perfect ice luge – at times, the chute walls are several feet tall, twisting and turning, gaining speed as you go. What took 2 hours to climb up, only takes several minutes to slide down. It’s unbelievable – the level of childlike glee this glissade produces makes you forget the long, arduous journey of the climb up! You just have to experience this for yourself.


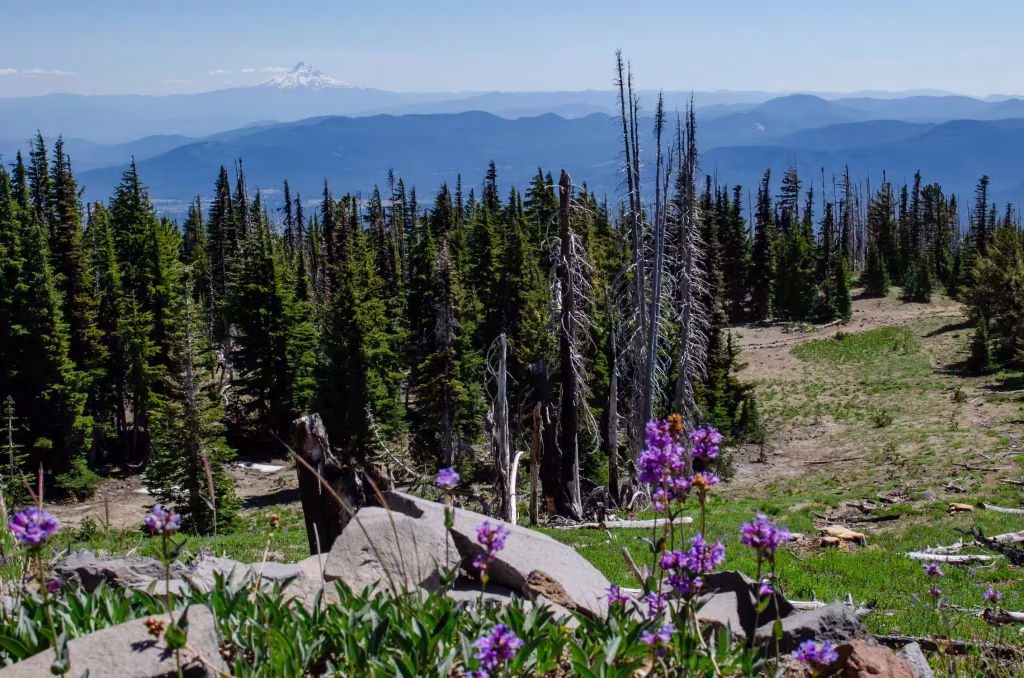
- 4:00 PM: Back at trailhead
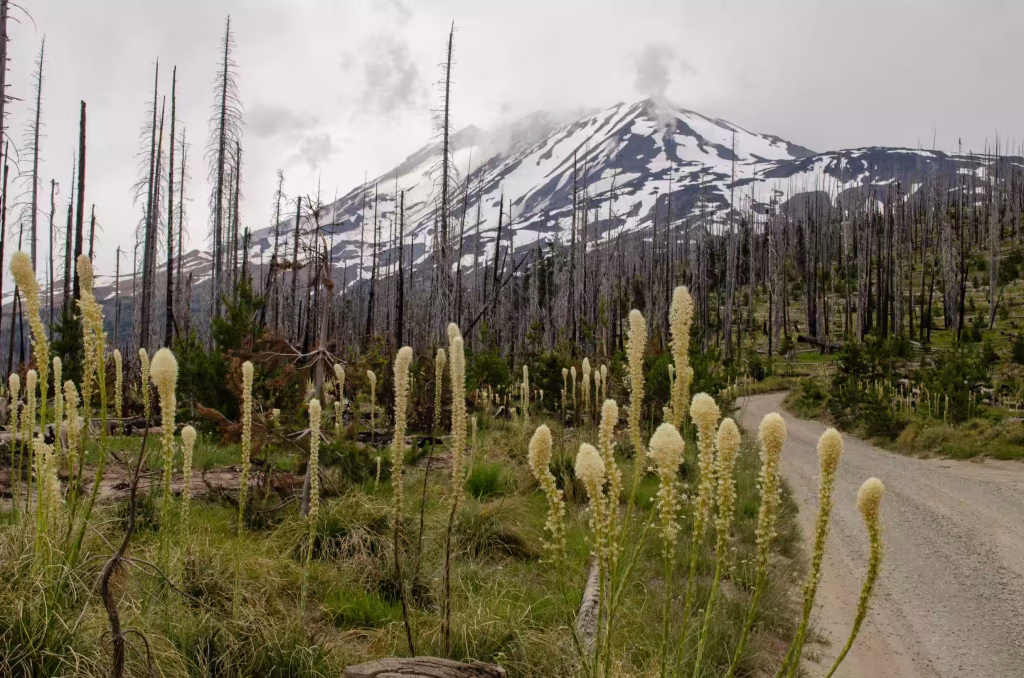
- After we were unable to glissade any longer, hiking the final few miles was a breeze. This seemed like a new world to us since we had hiked this section in the dark that morning. Now, we could see the wildflowers and forest that lined the path as we made our way back to the car.

TOTAL ELAPSED TIME: 14 hours (9 hours including breaks to summit; 1 hour rest/idle time at summit; 4 hour descent)
Note: the average amount of time a C2C often takes climbers ranges from 9-15 hours. We completed this on the slower end due to my bout of altitude sickness that made the last 1.8k’ of climbing extremely laborious. It’s best to plan to be on the mountain longer than you expect, no matter what your level of physical fitness is!
Treat yourself to a clean change of clothes waiting for you in the car, and a hard-earned hot meal in one of many adorable towns along the Columbia River Gorge before your drive home! Pat yourself on the back, have a drink, inhale and soak in the glory of this epic mountain adventure. Welcome to the world of mountaineering.