Step into Winter: Snowshoeing in the PNW
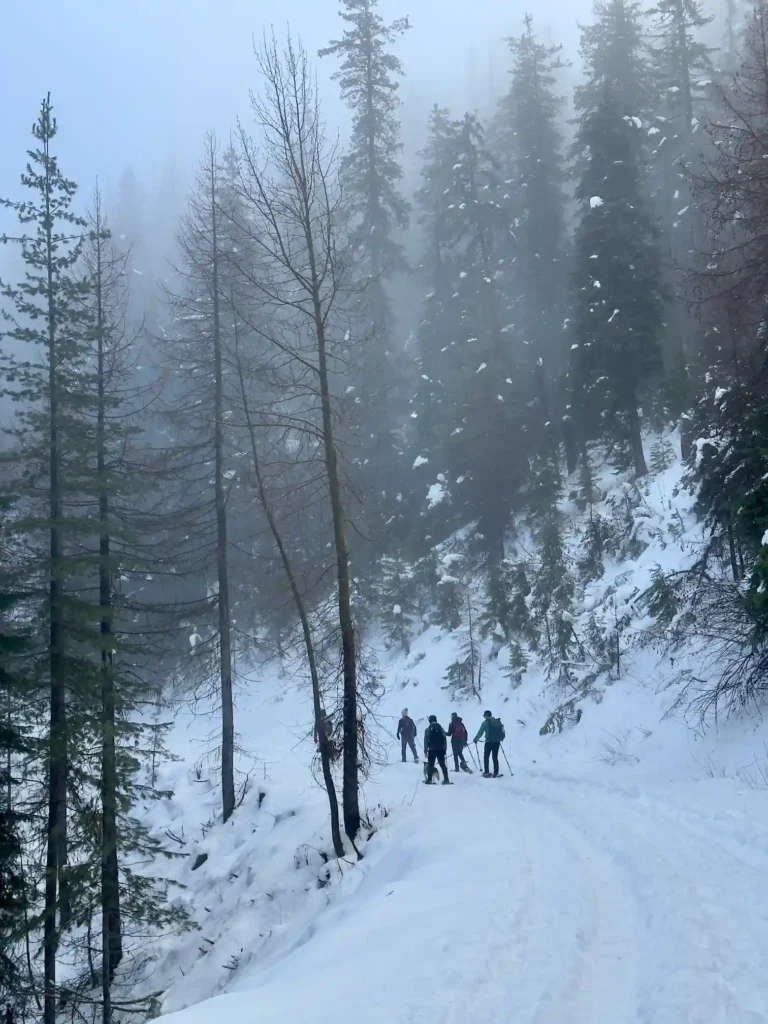
While the long dark gray season that is a Pacific Northwest winter can be really, understandably difficult for folks, we find solace in the idea that when it is rainy in Seattle, that means snow in the mountains! Snowshoeing is one of our favorite winter activities because it is more easily accessible compared to other popular winter sports (i.e. skiing or snowboarding), and we can bring our dog!

Listed below are our favorite snowshoe adventures and they are all dog-friendly.
At the bottom of the page, you can find our Bucket List of snowshoe hikes that we haven’t done yet, that you may be interested in too! Do note that this list contains trails within the National Park system which means they are not dog-friendly.
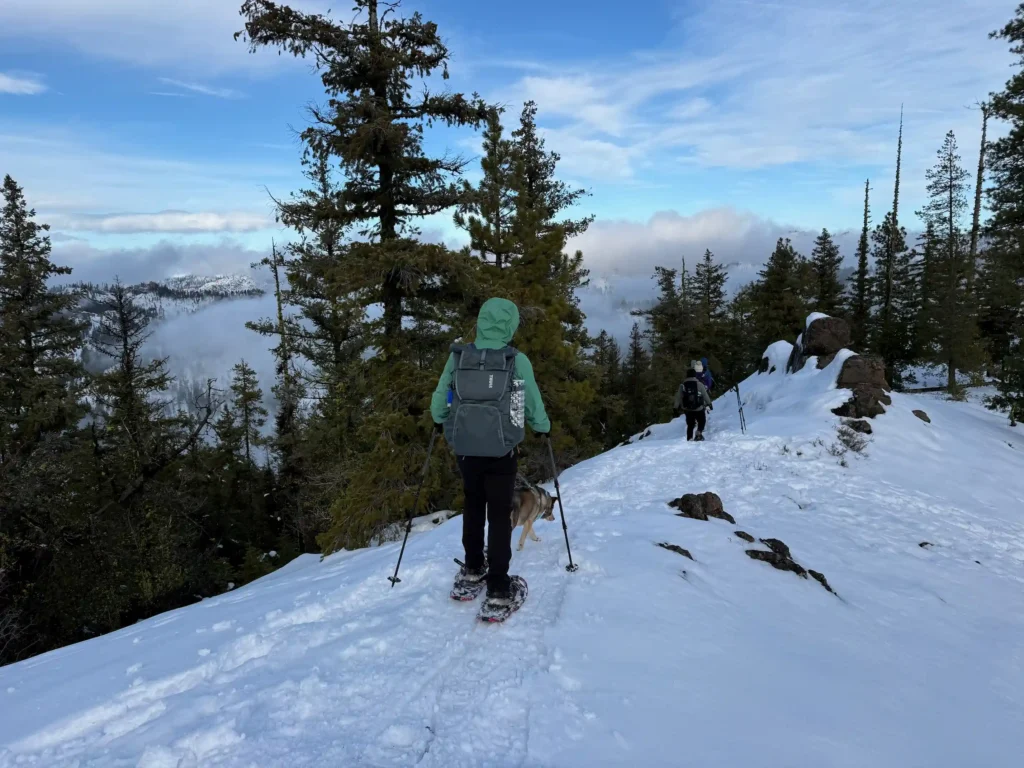
Artist Point (Mount Baker area)
- This hike takes the cake for the best snowshoe views in the area. With towering Mount Shuksan and Mount Baker nearby, this is truly a winter wonderland. The only downside about this trail is the long drive from Seattle. We did this at sunset and used headlamps for the dark hike down (and passed lots of folks camping in the snow!) and it was absolutely incredible.
- TRAIL STATS: 4 miles / 1000’ gain / easy to moderate
- PERMITS/PASSES: None


Skyline Lake (Stevens Pass)
- This trail starts from the popular Stevens Pass Resort area which has lots of parking and some amenities. Hike through snow covered trees until you reach an open frozen lake before turning around to complete your trek.
- TRAIL STATS: 3 miles / 1100’ gain / easy
- PERMITS/PASSES: None


Franklin Falls (Snoqualmie area)
- This is a very, very popular out-and-back trail because of its proximity to Seattle, and its unique destination: a frozen waterfall! The time of year the waterfall freezes varies by year, but oftentimes it won’t occur until at least late January. Once it’s frozen, you may see some ice climbers on the famous falls! Do not expect to find solitude on this trail!!!
- TRAIL STATS: 6 miles / 500’ gain / easy to moderate (due to length)
- PERMITS/PASSES: Sno-Parks Permit

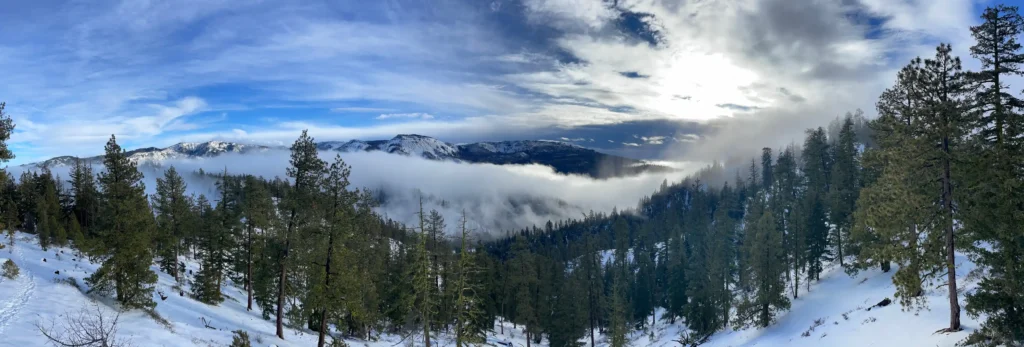
High Hut (Mount Rainier area)
- The Mount Tahoma Trails Association is an organization that maintains a hut-to-hut snow trail system open to snowshoers and skiers. The distance to the huts (ranges from 3 to 6.5 miles one way) and the trail difficulty varies depending on the hut (or yurt) you choose to hike to. These huts are open to the public during the day, and you can reserve your stay for the night.
- We did this in late November on a clear day with gorgeous views of Mount Rainier! Since it was early in the season, we were able to park at the Upper Sno-Park which allowed us to shave off 1-2 miles round trip. It’s a steady climb upwards the whole way to the hut. We did not reserve the night at the hut, but we still explored the inside of it (adorable!) and had a lunch break there before turning around.
- Note – there is a side trail for some ridgeline views that you’ll come across close to the hut – we did this and thought it was a fun sidequest to our adventure – this was an additional 0.8 miles total
- TRAIL STATS (for High Hut specifically): 6 miles / 1800’ gain / moderate
- PERMITS/PASSES: Sno-Park Permit + Discover Pass


Gold Creek Pond (Snoqualmie area)
- This is the easiest trail on our list – it is entirely flat and therefore perfect for beginners or families with small children – but still provides you with gorgeous views of the surrounding mountains. As a result, it is very popular and you may even have trouble finding parking! Do not expect to find solitude on this trail!
- TRAIL STATS: 3 miles / 10’ / easy
- PERMITS/PASSES: Sno-Parks Permit


Hex Mountain (Snoqualmie area)
- We did this towards the end of the winter season so we actually didn’t even use our snowshoes since the snow was packed and easy to walk on with microspikes only. On a clear day, we had a great view of Mount Rainier and it is not as popular as the other trails listed here. Warning: parking is limited.
- TRAIL STATS: 7.6 miles / 2600’ gain / moderate to strenuous
- PERMITS/PASSES: None


Mount Washington (Snoqualmie area)
- This is an easily accessible trail from Seattle, just a short drive off of I-90. We packed snowshoes but actually only needed microspikes for this one as the trail was packed down. Core memory: someone in our group packed a hot thermos of apple cider to share at the summit – such a delight!
- TRAIL STATS: 9 miles / 3250’ gain / strenuous
- PERMITS/PASSES: Discover Pass


Wenatchee Crest (Blewett Pass – Central Cascades)
- This snowshoe is perfect for beginners and families as it is so easy to access (parking is literally right off of Highway 97) and navigate (an out and back) with multiple peek-a-boo views of the snowcapped peaks nearby
- We did add a little bit to our day – a little over a mile from the start, veer left and climb an extra 250’ to reach a ridge with panoramic views of the surrounding mountains – a lovely detour worth the extra effort!
- TRAIL STATS: 6 miles / 400’ elevation gain / easy
- PERMITS/PASSES: Washington Sno-Parks Permit
White River West Sno-Park, Mount Hood (Oregon)
- This fun trail is easily accessible from the highway and very family friendly. Many families were sledding and playing in the snow within a mile of the parking lot, whereas other folks hiked out as far as they wanted. We made a small loop out of our trek that was easy to follow as all the trails are well groomed. You can see incredible views of Mount Hood from almost every angle. It’s a make-your-own adventure sort of winter wonderland!
- TRAIL STATS: 2-6 miles / 500-800’ elevation gain / easy to moderate
- PERMITS/PASSES: Oregon Sno-Park Permit


Planning & Packing
- PREPARE FOR YOUR TRIP:
- Be sure to check weather conditions & the avalanche forecast before heading out. Do not go into the mountains if there is chance of avalanche danger. You can call the ranger station for the area you will be in, or check AllTrails or the WTA website for the most up-to-date trail reports from fellow hikers.
- Remember that snow-covered trails look very different from their barren summertime selves so you must carry your Ten Essentials and navigation that you can use if you lose cell service.
- Always have an emergency contact (who is not hiking with you) and let them know about your plans, whereabouts, and expected return time.
- SNO-PARK PERMITS:
- Sno-Parks are cleared parking areas that provide access to groomed snowshoe and backcountry trails. You must pay for a permit to park in one of these between Nov 1 and April 30. The price may seem steep, but the money goes towards maintaining these parking areas (i.e. snow removal and maintaining pit toilets), trail signs and trail grooming – all necessary components to keep snowshoe trails accessible and as safe as possible!
- In Washington, you can use this interactive map to find a Sno-Park, and use this link to purchase Sno-Park permits online.
- You can purchase single-day permits, seasonal permits, or specialized permits for access to trails specifically for cross-country skiing
- Remember, depending on the trail you use, you may need to display multiple passes and permits (e.g. both a Sno-Park permit and a Discover Pass)
- In Oregon, you can find these at most gas stations or local sporting goods stores (like REI or Big 5 Sporting Goods). Note that Oregon does honor sno-park permits from adjacent states of Idaho and California
- RIGHT OF WAY:
- When snowshoeing, you may share the trail with other winter enthusiasts, including skiers and snowmobiles.
- If you see groomed trails (they look like nice, smooth, thin roads embedded in the snow), snowshoers should NOT use these trails. These tracks are specifically for skiers and snowmobilers, and a snowshoe stepping onto this track will disrupt the terrain.
- Generally speaking, snowshoers should yield to skiers, snowmobiles and dog sleds, as everyone else will be moving more quickly.

- GEAR LIST – WHAT DO I PACK?
- Your Ten Essentials
- Waterproof boots
- Warm socks
- Snow gaiters
- Microspikes
- Snowshoes
- Hiking poles, ideally with baskets that can be attached to the bottom of your poles (so your poles don’t sink into the snow)
- Layers!!! This is key. You will start out cold and quickly warm up as you trudge through the snow
- At minimum: waterproof outer shell, down jacket, midweight insulation (like a fleece), warm base layer (think wool)
- Sunscreen and sunglasses
- Cold weather accessories: gloves, neck gaiter, hat
- More water & snacks than you expect – snowshoeing is a workout as each step takes a bit more effort than a regular hike!
- Seat pad – this is definitely an extra luxury item that I think is totally worth packing! It’s nice to have a nice, dry place to sit on top of the snow while taking a lunch break
Snowshoes versus microspikes
Snowshoes allow you to float on top of the snow and are perfect for fresh, fluffy, soft, deep snow so you do not sink. Microspikes, on the other hand, provide better traction in icy, slippery conditions, or for packed-down snow.
- HOW DO I GET STARTED? Be sure to check local outdoors companies like REI, Washington Trails Association, The Mountaineers, or even our local National Parks that regularly host events and guided snowshoe tours.

What’s on our bucket list?
- Central Cascades/Leavenworth area:
- Lake Wenatchee State Park – Nason Ridge (3.6 miles, easy to moderate)
- Stevens Pass area:
- Barclay Lake (4 miles, easy)
- Surprise Lake (8 miles, moderate)
- Lake Valhalla (13 miles, strenuous due to length)
- Lanham Lake (3 miles, moderate)
- Tonga Ridge (7 miles, moderate)
- North Cascades area:
- Shannon Ridge (8 miles, moderate)
- Snoqualmie Pass area:
- Kendall Peak Lakes (9 miles, moderate)
- Commonwealth Basin (10 miles, strenuous)
- Mount Rainier National Park *not dog friendly*
- Mazama Ridge (6 miles, easy to moderate)
- Sun Top Lookout (10 miles, strenuous)
- Panorama Point (5 miles, strenuous)
- Edith Creek Basin (3 miles, strenuous)
- Olympic National Park *not dog friendly*
- Hurricane Ridge (6 miles, moderate)
Stay safe, warm, and happy adventuring in the snow!!