
Camp Muir
Camp Muir serves as the base camp for mountaineers pursuing a summit bid of Mount Rainier from the south side. It is named after naturalist John Muir, who played an instrumental role in our National Parks system and wilderness preservation as a whole. He summited Mount Rainier in 1888 at the age of 50!
Camp Muir is the highest point you can hike to in Mount Rainier National Park (ie on the mountain herself) without obtaining a formal climbing permit, and where hikers can get a tiny taste of mountaineering. The trek to Camp Muir is a strenuous, snowy challenge, bringing you 10,000 feet above sea level, and rewarding you with endless panoramic vistas of the surrounding mountains below. Read on about how we tackled this adventure in August 2026.
WHEN TO GO?
Most attempt this hike between mid-July and late-August for prime conditions. This season gives you the best chance for predictable weather (to an extent — conditions can still change abruptly on the mountain), a significant amount of daylight, and the Muir snowfield is packed down, therefore easier to navigate. This is also when wildflowers bloom at lower elevations of Mount Rainier National Park, so you’ll have incredible views at all points of this trail!
Since the trail starts from one of the visitor centers of Mount Rainier National Park, it is very crowded and therefore advised to get a very early start, i.e. sunrise or earlier, to ensure you find adequate parking. It is recommended to start your hike between 5-7am, so that by the time you are descending, it is not so warm that the snowfields have turned into slush. Firm snow will make it easier to hike or glissade downwards.
PERMITS & PARKING
The trail starts from the Paradise Visitor Center of Mount Rainier National Park, which is about a 3 hour drive from Seattle. This is accessed via the Nisqually Entrance (Southwest entrance) of Mount Rainier National Park. This means you’ll need either an America the Beautiful Pass (i.e. the National Parks pass) or purchase a single-use entrance pass. The single-use entrance pass is valid for a 7-day stretch and can be purchased online ahead of time, or in-person at the park entrances.
DOG-FRIENDLY?
Dogs are NOT allowed on the entire trail.
GEAR LIST
- Ten Essentials (check out our guide here for more details)
- Navigation: download offline maps, AllTrails route, or use other navigation of choice
- Waterproof boots
- Gaiters
- Microspikes
- Trekking poles with snow baskets
- Sun protection: sunglasses, sunscreen
- Cold weather accessories: gloves, hat/beanie, buff
- Layers:
- Windproof/waterproof shell
- Mid layer
- Base layer
- Waterproof pants (especially if you want to glissade down on your bum)
- Water, electrolytes
- Water filter (we didn’t use ours but handy to have!)
- Food, snacks + extra food
- Electronics: Camera, lenses, batteries, power pack, charging cables
- Option to bring a trash bag or something slippery to glissade down on (like rain pants)
THE TRAIL
- 8.5 miles round trip (out-and-back)
- 4,640 feet elevation gain
- Difficulty: Strenuous
- We like to use the Mountain Forecast website to check the weather at Camp Muir
- Most hikers take 7-12 hours of elapsed time to complete this hike
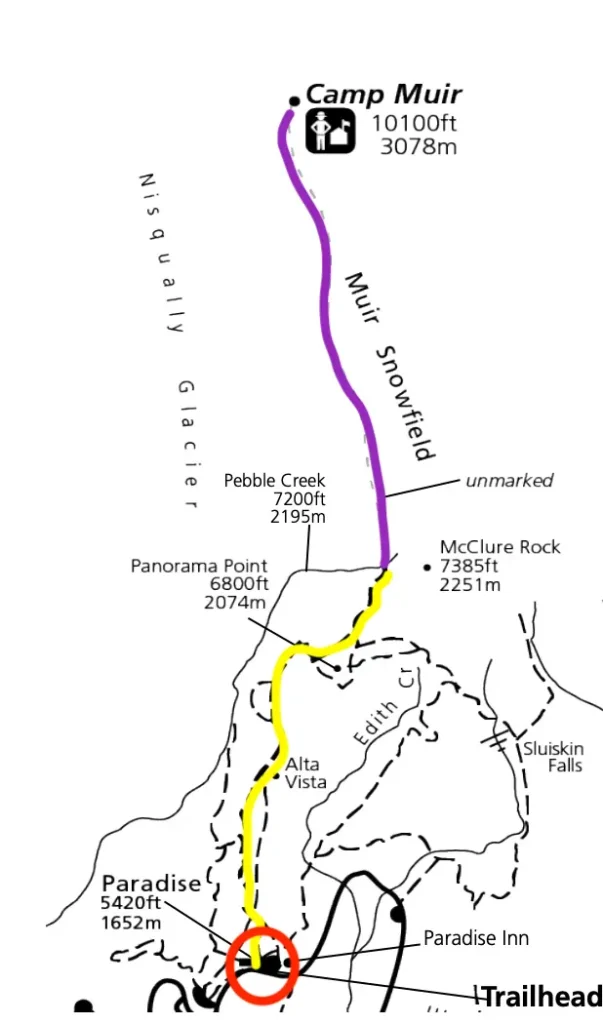
(Map Credit)
THE EXPERIENCE
2:30 AM: The day begins
We decided to do this adventure in one day (as opposed to camping/finding lodging nearby the night before), which meant we left the Seattle area at this ungodly hour.
6:00 AM: Arrival at the trailhead
The drive to the Paradise Visitors Center was a breeze with zero traffic. We arrived at the main parking lot around 6am and were surprised at how full the lot was already, but it was likely that many of those cars belonged to mountaineers that were already up on the mountain. Although the gate to enter the park was not staffed at this hour, the bathrooms were open and many hikers of all ages were starting to fill the main lot, the adjacent overflow lot, and the road in between.
6:30 AM: Boots on the trail (elev. 4,640′)
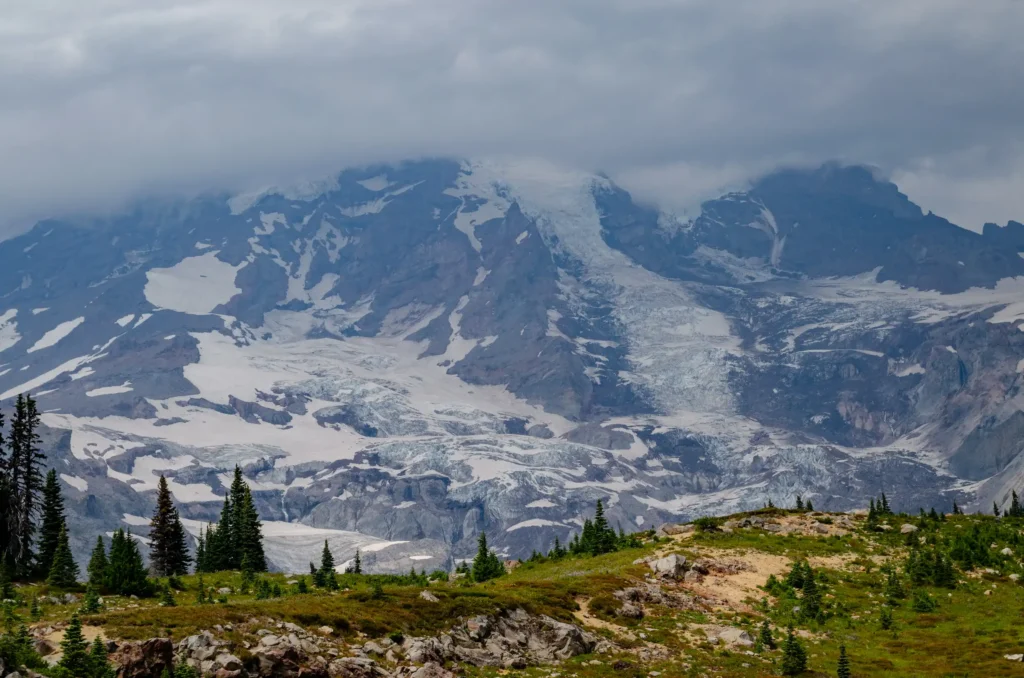
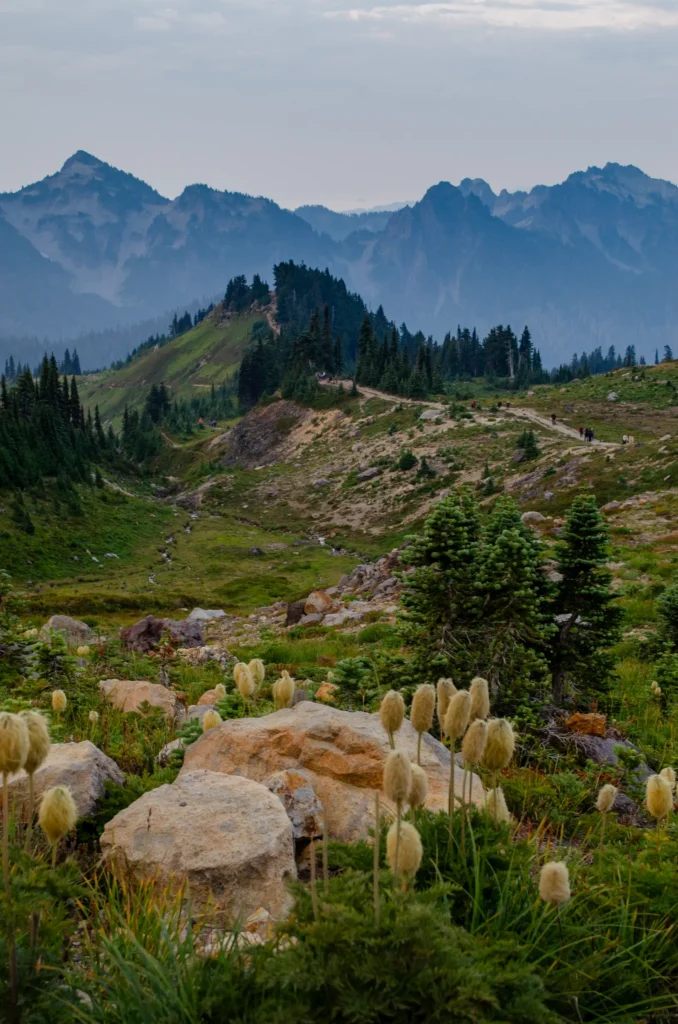
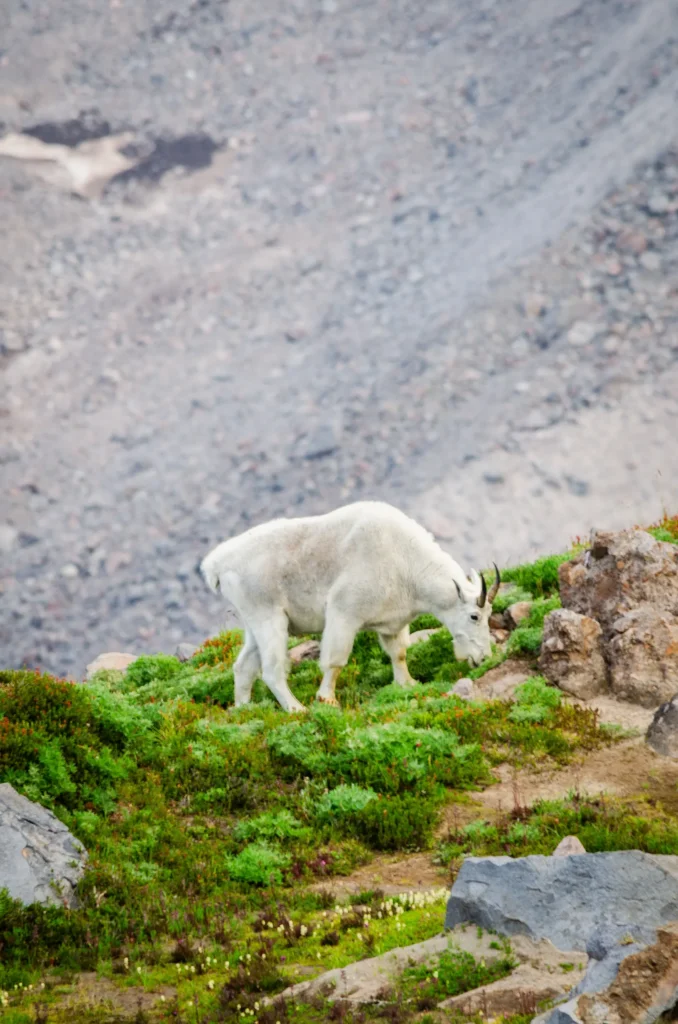
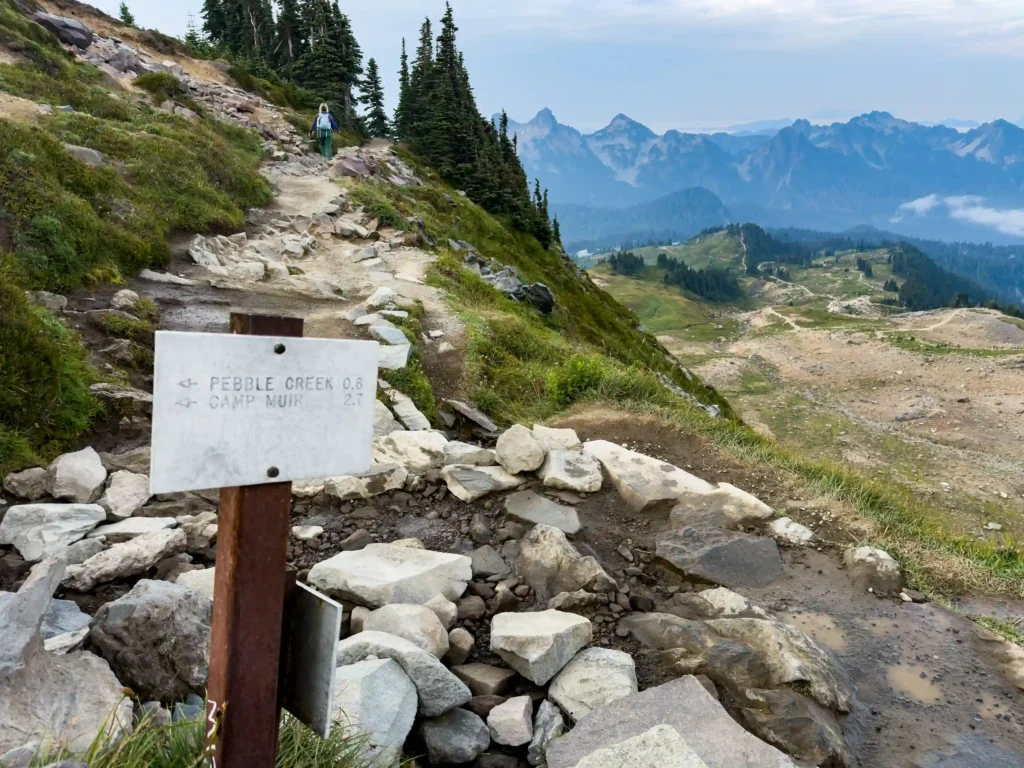
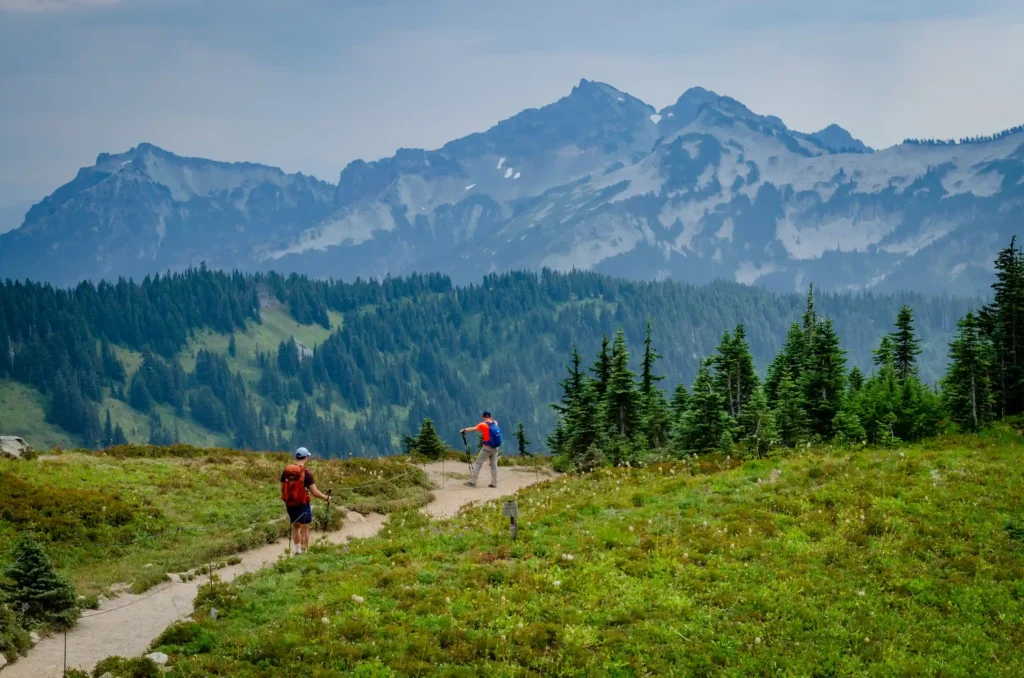
The trail starts from the extremely popular Skyline Trail directly from the Paradise Visitors Center, which is paved, crowded, and lush with wildflowers and the occasional grazing family of deer. The first two miles are like this, until you finally start to leave the hoards of people when reaching Pebble Creek (elev. 7,200’). This is also where, in the early season, you would start to encounter some snow. However for us in mid-August, there was no snow at this point. There was, however, signage here stating that some small crevasses were already opening up on the mountain (which is typical for mid-August and onward).
8:00 AM: Muir Snowfields (elev. 8,000’)
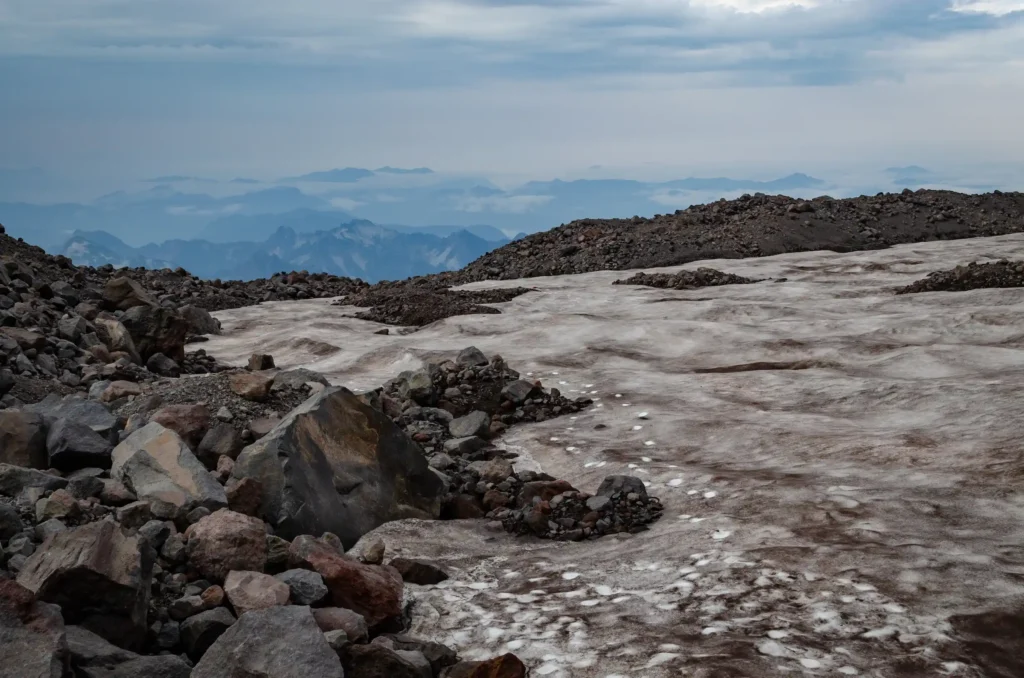
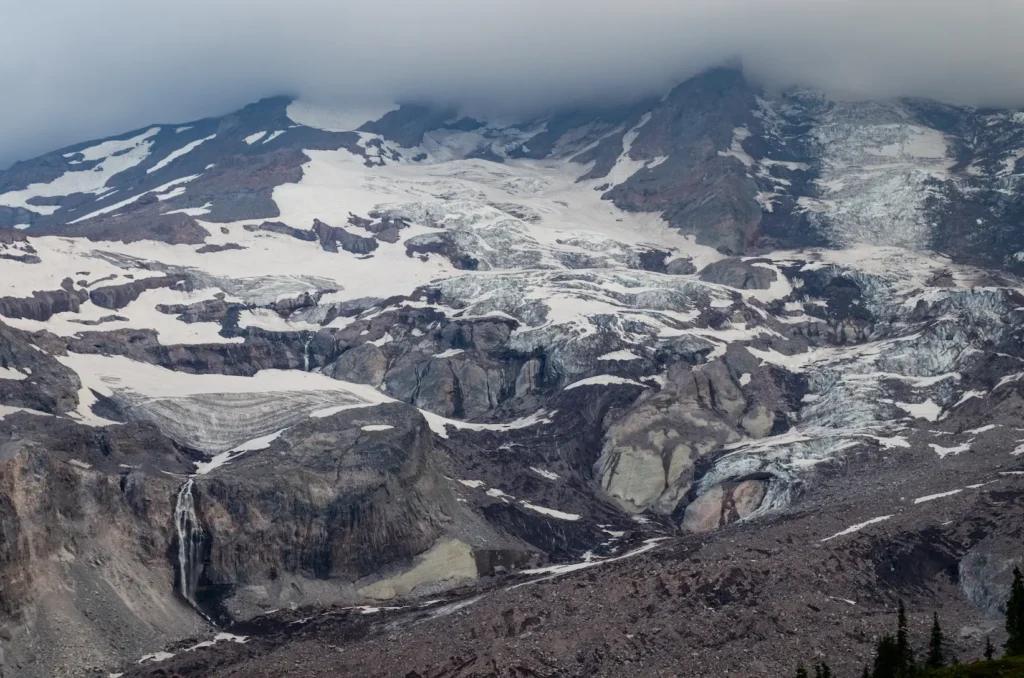
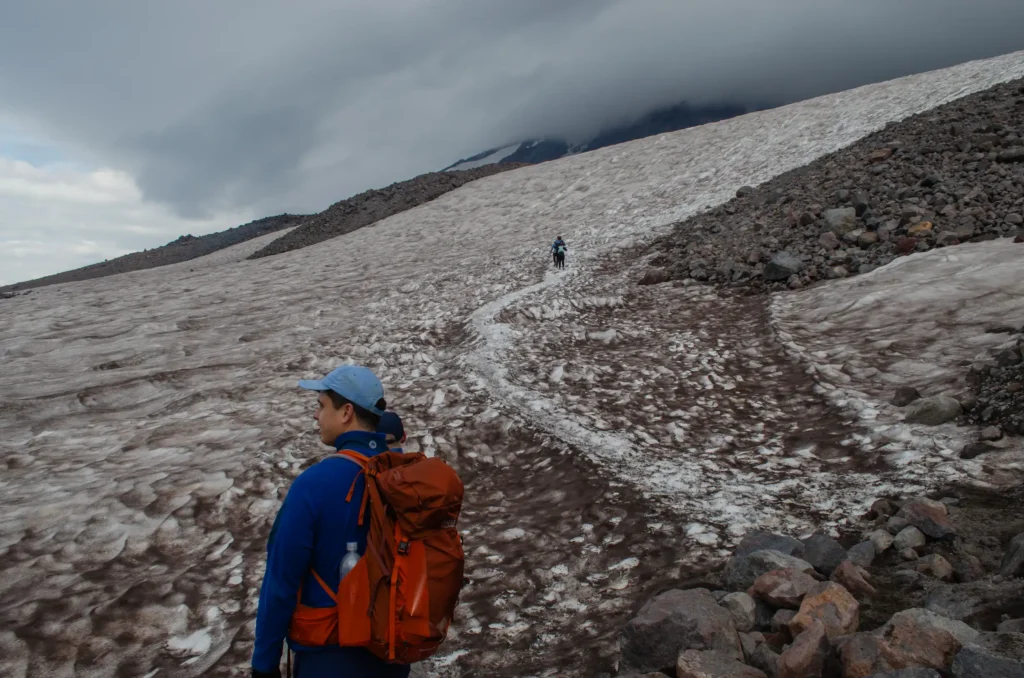
Now it was time to break out the trekking poles and microspikes. The slog of relentless vert truly begins here, your efforts intensified by the thinning air as you continue to climb higher and higher. As mentioned before, these snowfields are where you will need to be mindful of the crevasses then can start to open up later in the season (mid-August through September). A crevasse is a crack that opens on a glacier or ice sheet. Falling into a wide-open crevasse can be fatal, but if you follow the standard path up towards Camp Muir, the crevasses are unlikely to be very large. Nevertheless, listen for running water beneath the snow, which would indicate melting ice of the crevasse, and take care to avoid any of these dangerous areas.
10:30 AM: Camp Muir — our “summit” (elev. 10,080’)
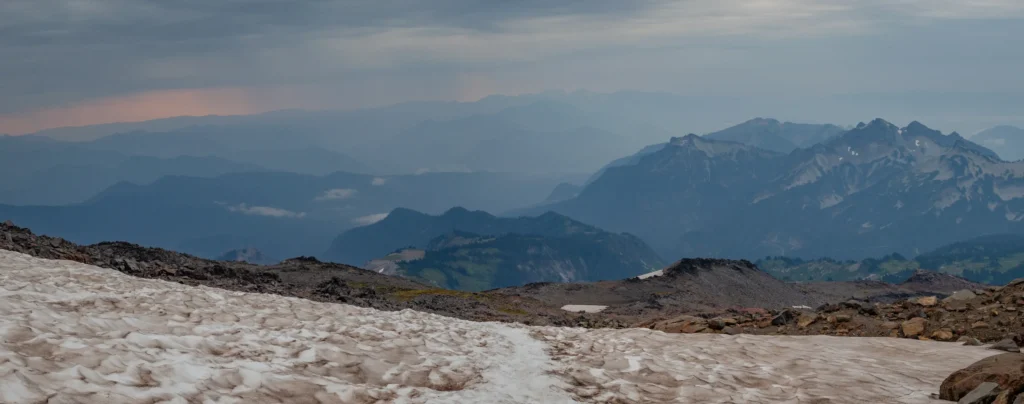
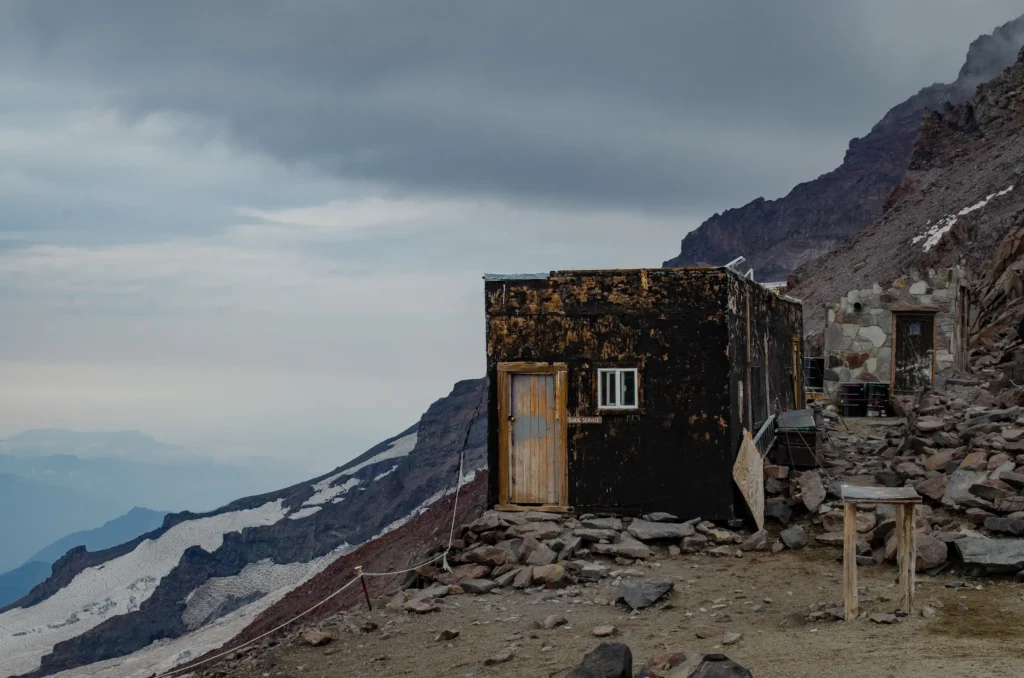
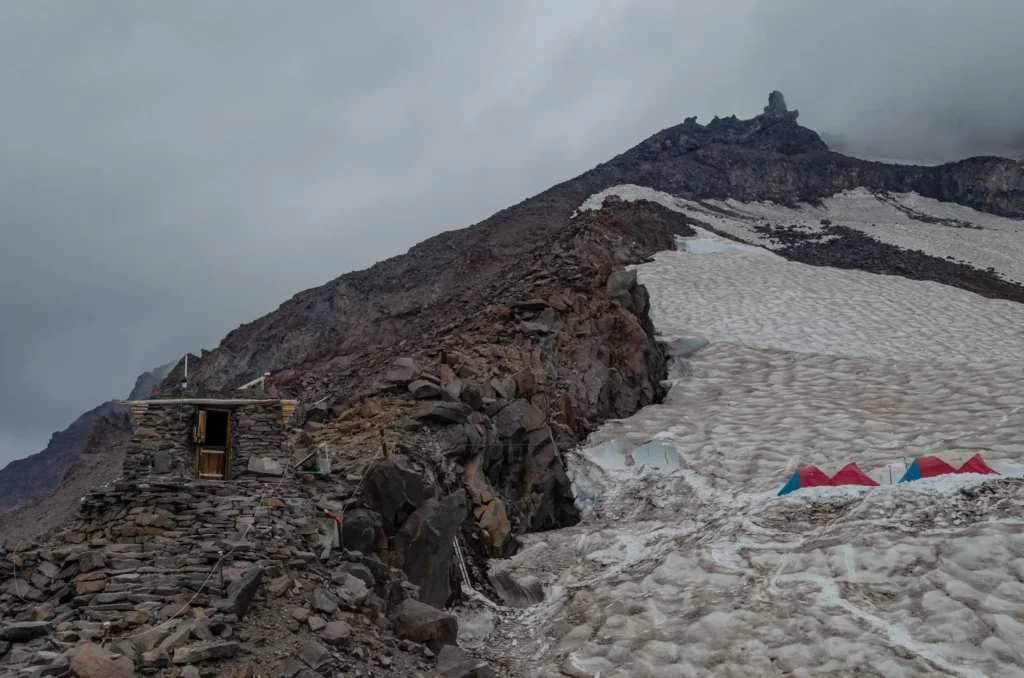
How cool to be among the little tent city of climbers that have stood or will soon stand at the top of Mount Rainier herself! There are two stone shelters here, a pit toilet, and literally views for miles. Although the overcast day limited our views of the surrounding peaks (for example, you would expect to see neighboring Mt. Adams on a clear day), we were still rewarded with incredible panoramic views nevertheless and the chance to admire the glaciers up close and personal.
11:15 AM: The descent
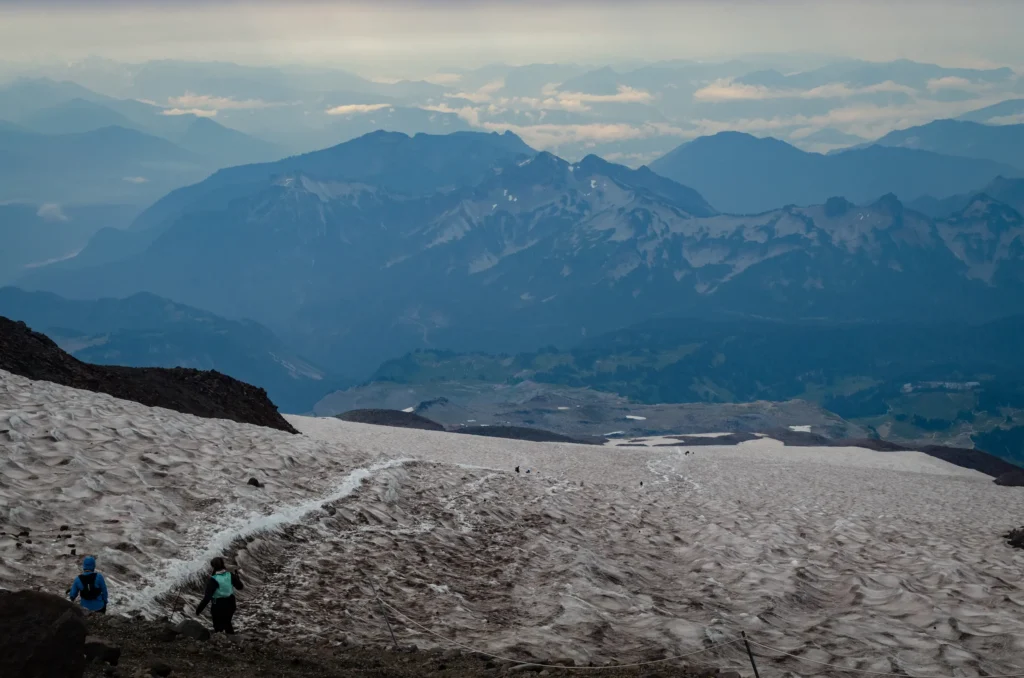
After eating our Jimmy Johns sandwiches in wind gusts that would knock your socks off, we started our descent. If you feel comfortable glissading downwards, this is by far the best, most efficient (and certainly most fun) way to quickly get down a snowy mountain. To glissade is to slide down on the snow while seated (after removing your microspikes and with knowledge of how to “self-arrest” — i.e. stopping yourself by rolling over onto your stomach). There are usually glissade paths created by other hikers that look like chutes or slides carved into the snow. You can sit directly on the snow (with waterproof pants hopefully!), sit on a trash bag, or other sturdy yet slippery device that will help you slide down the mountain.
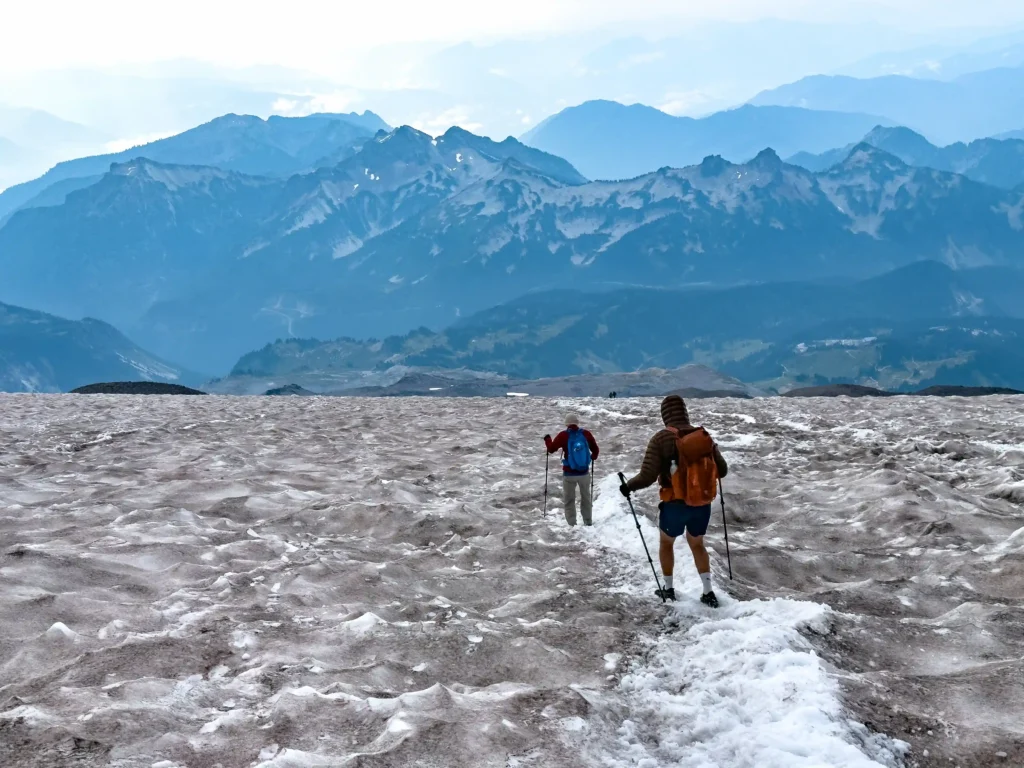
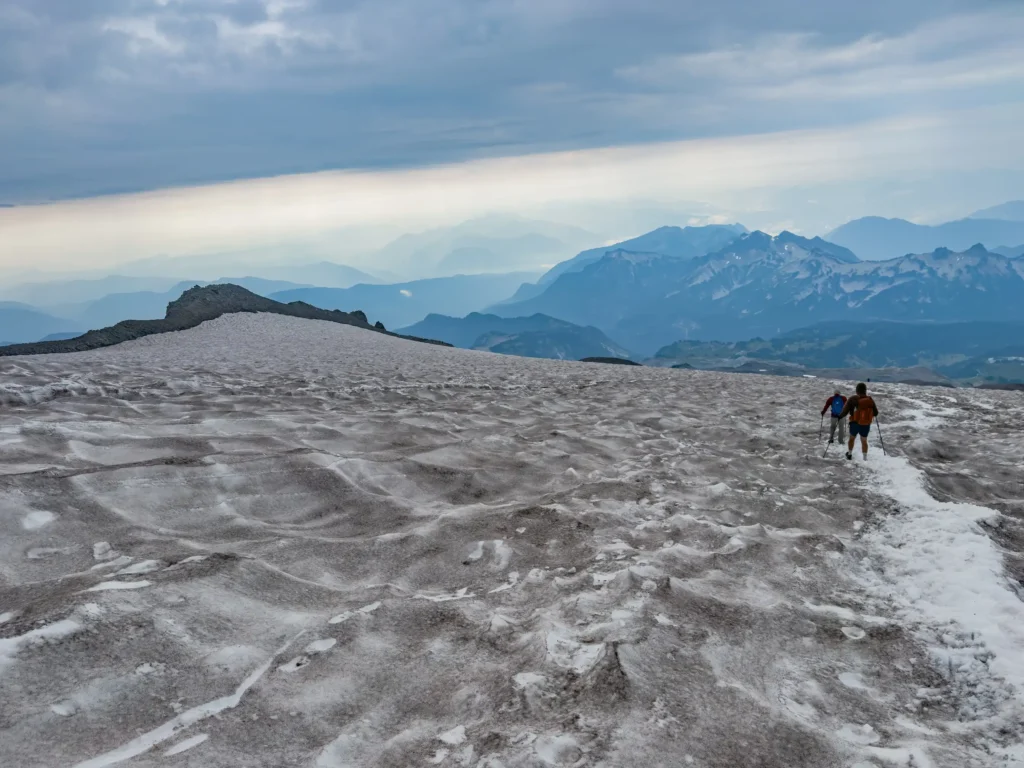
An important note: weather is known to shift rapidly in the snowfields. White-out conditions can occur with little to no warning, so it is important to follow your line (i.e. your breadcrumbs) by following your GPS/navigation route in reverse if you become lost. Be prepared for any and all weather conditions and do not hike alone!
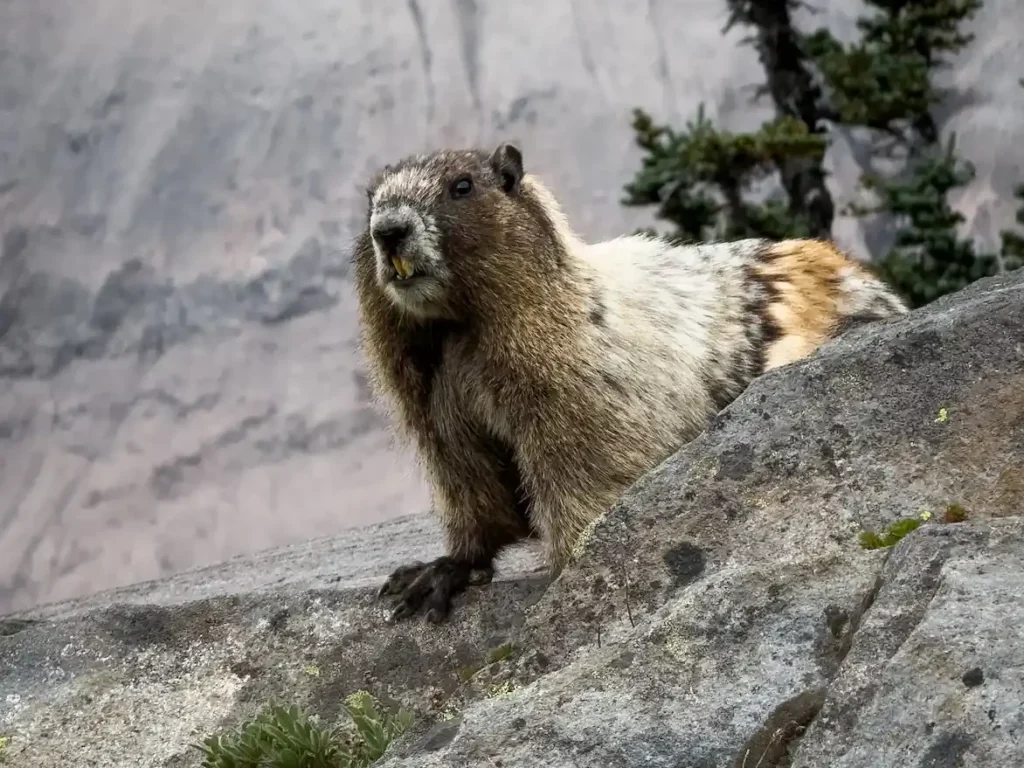
Soon enough, we reached the end of the snowfields and were greeted again by the singing marmots and crowds of Skyline Trail as we hiked the last few miles to our car.
2:30 PM: Fin!
We made it back to the car exactly 8 hours after we set foot on the trail. On our way home to Seattle, we stopped for food and drinks at the Rainier BaseCamp Bar & Grill, which is about a 45 minute drive from the Paradise Visitor Center/trailhead. This spot is a vibe — there is a ton of outdoor seating and lots of options on tap.
Final Stats
- Time to ascend: 4 hours
- Time to descend: 3 hours
- Total elapsed time (including breaks + summit lunch): 8 hours
We hope this guide helps you plan your own adventure basking in the majestic beauty that is Mount Rainier!